
This page is a work in progress… Until it is complete, the best resource for camera angles and movement is this amazing analysis of the original Incredibles movie: The cinematography of The Incredibles PART 1 | PART 2 | PART 3
Animate CC Camera
Adobe video that shows how you’ll be able to direct your camera in a 2D animation using Animate CC: https://helpx.adobe.com/animate/how-to/virtual-camera.html?sdid=Q3FWPYX8&mv=other
Types of Shots
The following comes from Eric Goldberg’s (Aladdin’s Genie animator) book “Character Animation Crash Course”… I’d like to combine this with the other resources that start at Camera Angles below…
Film Grammar: Types of Shots
Establishing Shot — shows the overall setting (and perhaps characters involved) to define for the audience the place, the time of day, and the atmosphere of the sequence.
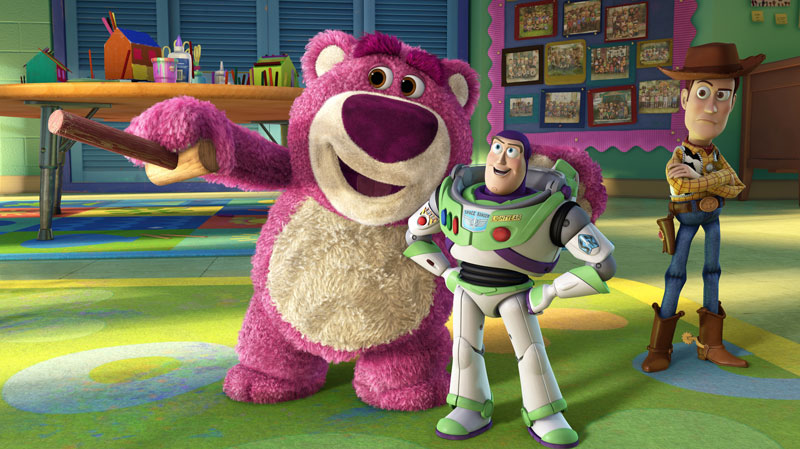
Medium Shot (M.S.) — shot that shows characters’ full bodies in a framing spacious enough to include reasonable background (and possibly foreground) detail.
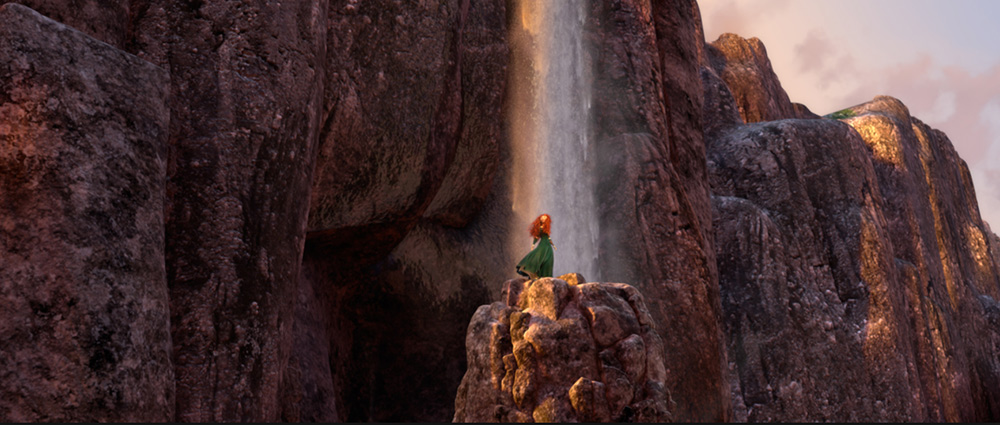
Long Shot (L.S.) — camera is far away from subject matter, characters quite small in frame.
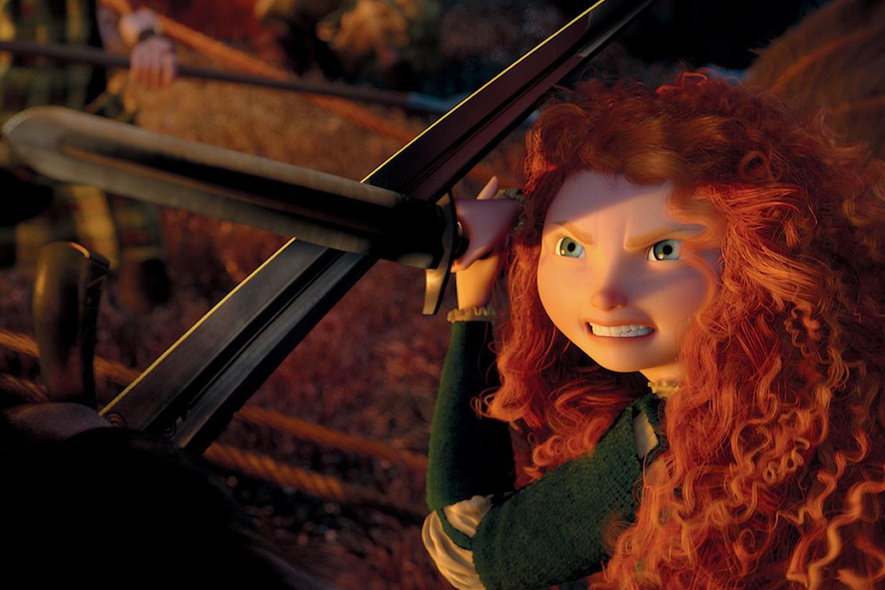
Close-Up (C.U.) — close detail shot (often facial) with little or no extraneous background detail.
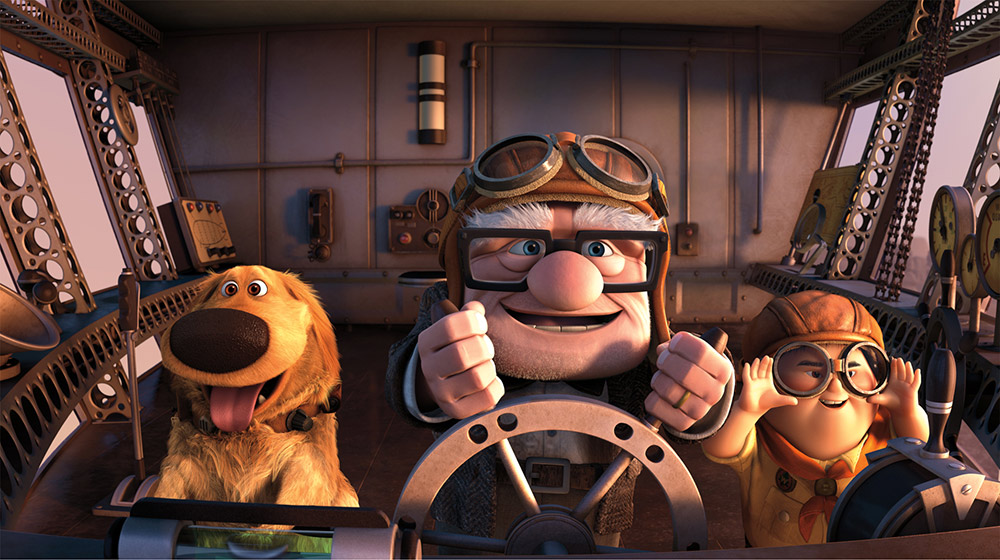
Medium Close-Up (M.C.U.) — say, a waist-up shot of characters.
Medium Long-Shot (M.L.S.) — characters farther away than in a medium shot, but not tiny.
Extreme Close-Up (Extreme C.U.)
Extreme Long-Shot (Extreme L.S.)
P.O.V. (point of view) Shot — composed and staged as if the audience is experiencing the shot first-hand through the character’s eyes.
Crane Shot — shot with shifting composition (height of camera, distance from subject matter, turning around a character or stationary object), so called because of the hydraulic crane required to execute the shot in live-action filmmaking.
Camera Angles
The term camera angle means slightly different things to different people but it always refers to the way a shot is composed. Some people use it to include all camera shot types, others use it to specifically mean the angle between the camera and the subject. We will concentrate on the literal interpretation of camera angles, that is, the angle of the camera relative to the subject.
Eye-Level
This is the most common view, being the real-world angle that we are all used to. It shows subjects as we would expect to see them in real life. It is a fairly neutral shot.
High Angle
A high angle shows the subject from above, i.e. the camera is angled down towards the subject. This has the effect of diminishing the subject, making them appear less powerful, less significant or even submissive.
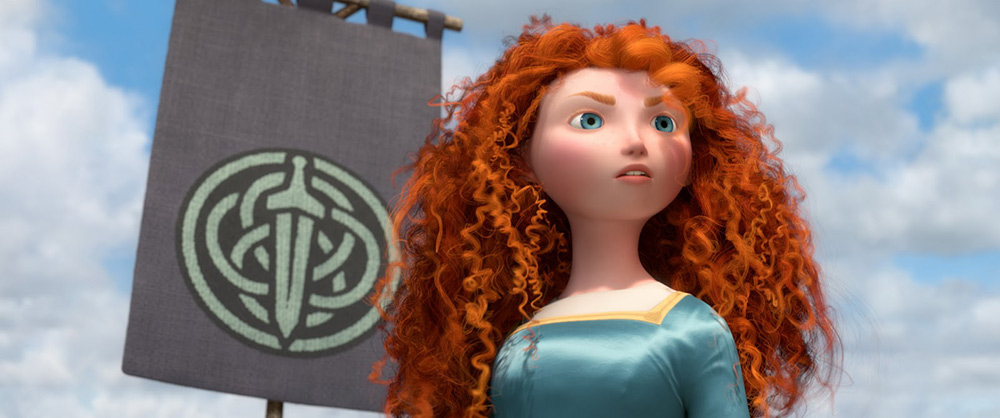
Low Angle
This shows the subject from below, giving them the impression of being more powerful or dominant.
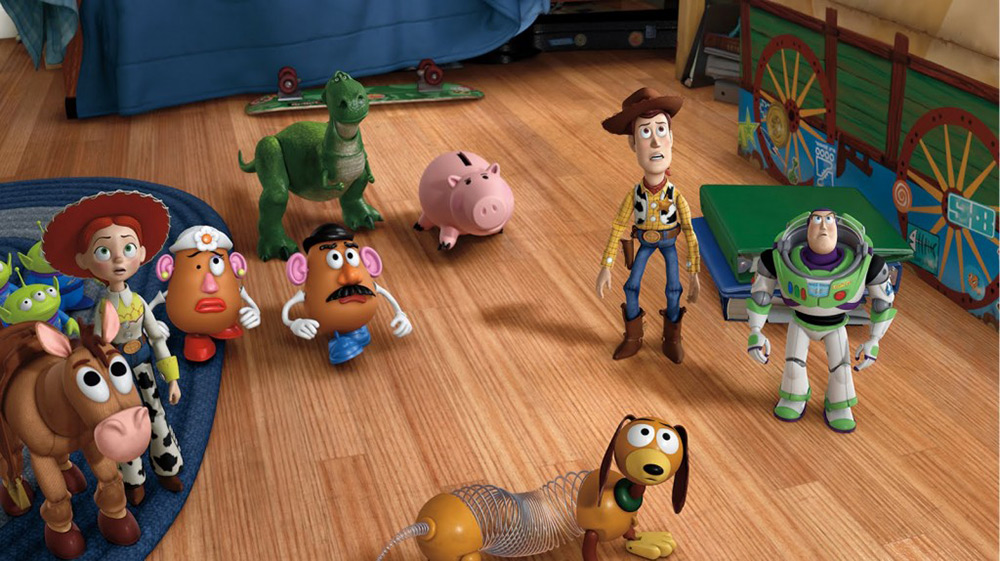
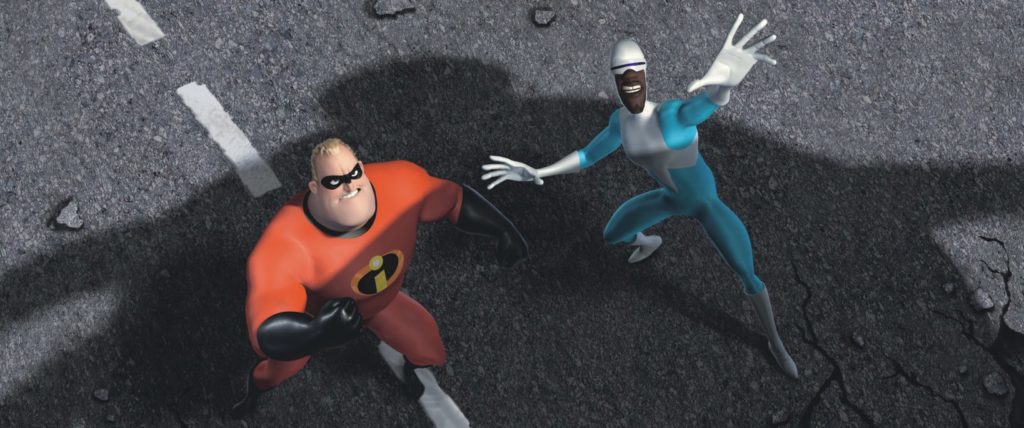
Bird’s Eye
The scene is shown from directly above. This is a completely different and somewhat unnatural point of view which can be used for dramatic effect or for showing a different spatial perspective.
In drama it can be used to show the positions and motions of different characters and objects, enabling the viewer to see things the characters can’t.
The bird’s-eye view is also very useful in sports, documentaries, etc.
Slanted
Also known as a dutch tilt, this is where the camera is purposely tilted to one side so the horizon is on an angle. This creates an interesting and dramatic effect. Famous examples include Carol Reed’s The Third Man, Orson Welles’ Citizen Kane and the Batman series.
Dutch tilts are also popular in MTV-style video production, where unusual angles and lots of camera movement play a big part.
Basic Shot Types
From http://www.mediacollege.com/video/camera/tutorial/01-framing.html
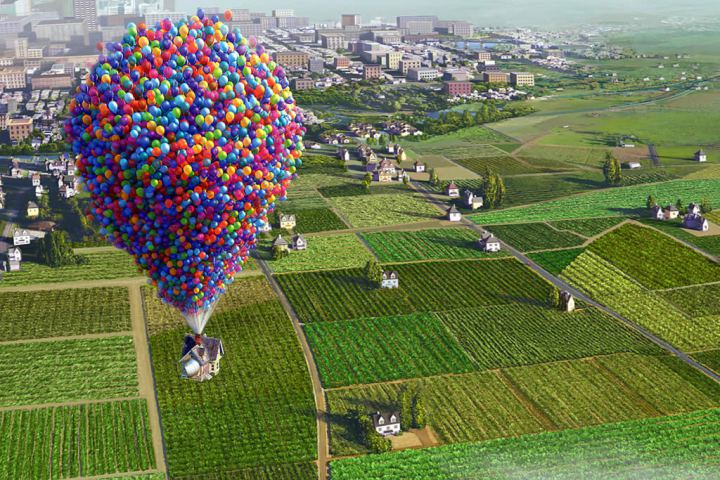
EWS (Extreme Wide Shot)
In the EWS, the view is so far from the subject that he isn’t even visible. The point of this shot is to show the subject’s surroundings. The EWS is often used as an establishing shot — the first shot of a new scene, designed to show the audience where the action is taking place.

VWS (Very Wide Shot)
The VWS is much closer to the subject. He is (just) visible here, but the emphasis is still on placing him in his environment. This also works as an establishing shot.
WS (Wide Shot)
In the WS, the subject takes up the full frame. In this case, the feet are almost at the bottom of frame, and the heads are almost at the top. The subject may not take up the whole width of the frame, especially if you only have one character in the shot, since this is as close as we can get without losing any part of the subject. The small amount of room above and below the subject can be thought of as safety room — you don’t want to be cutting the top of the head off. It would also look uncomfortable if the feet and head were exactly at the top and bottom of frame.
MS (MidShot)
The MS shows some part of the subject in more detail, whilst still showing enough for the audience to feel as if they were looking at the whole subject. In fact, this is an approximation of how you would see a person “in the flesh” if you were having a casual conversation. You wouldn’t be paying any attention to their lower body, so that part of the picture is unnecessary.

MCU (Medium Close Up)
Half way between a MS and a CU. This shot shows the face more clearly, without getting uncomfortably close.
CU (Close Up)
In the CU, a certain feature or part of the subject takes up the whole frame. A close up of a person usually means a close up of their face.
ECU (Extreme Close Up)
The ECU gets right in and shows extreme detail. For people, the ECU is used to convey emotion.
CA (Cutaway)
A cutaway is a shot that’s usually of something other than the current action. It could be a different subject (e.g. these children), a CU of a different part of the subject (e.g. a CU of the subject’s hands), or just about anything else. The CA is used as a “buffer” between shots (to help the editing process), or to add interest/information.
Cut-In
Shows some (other) part of the subject in detail.
CA (Cutaway)
A shot of something other than the subject.
Two-Shot
A shot of two people, framed similarly to a mid shot.
(OSS) Over-the-Shoulder Shot
Looking from behind a person at the subject.
Noddy Shot
Usually refers to a shot of the interviewer listening and reacting to the subject.
Point-of-View Shot (POV)
Shows a view from the subject’s perspective.
Weather Shot
The subject is the weather. Can be used for other purposes, e.g. background for graphics.
Some Rules of Framing
Look for horizontal and vertical lines in the frame (e.g. the horizon, poles, etc). Make sure the horizontals are level, and the verticals are straight up and down (unless of course you’re purposely going for a tilted effect).
The rule of thirds. This rule divides the frame into nine sections, as in the first frame below. Points (or lines) of interest should occur at 1/3 or 2/3 of the way up (or across) the frame, rather than in the centre.

“Headroom”, “looking room”, and “leading room”. These terms refer to the amount of room in the frame which is strategically left empty. The shot of the baby crawling has some leading room for him to crawl into, and the shot of his mother has some looking room for her to look into. Without this empty space, the framing will look uncomfortable.
Headroom is the amount of space between the top of the subject’s head and the top of the frame. A common mistake in amateur video is to have far too much headroom, which doesn’t look good and wastes frame space. In any “person shot” tighter than a MS, there should be very little headroom.
Everything in your frame is important, not just the subject. What does the background look like? What’s the lighting like? Is there anything in the frame which is going to be distracting, or disrupt the continuity of the video?
Pay attention to the edges of your frame. Avoid having half objects in frame, especially people (showing half of someone’s face is very unflattering). Also try not to cut people of at the joints — the bottom of the frame can cut across a person’s stomach, but not their knees. It just doesn’t look right.
Once you’re comfortable with the do’s and don’ts, you can become more creative. Think about the best way to convey the meaning of the shot. If it’s a baby crawling, get down on the floor and see it from a baby’s point-of-view (POV). If it’s a football game, maybe you need to get up high to see all the action.
Look for interesting and unusual shots. Most of your shots will probably be quite “straight”; that is, normal shots from approximate adult eye-level. Try mixing in a few variations. Different angles and different camera positions can make all the difference. For example; a shot can become much more dramatic if shot from a low point. On the other hand, a new and interesting perspective can be obtained by looking straight down on the scene. Be aware that looking up at a person can make them appear more imposing, whereas looking down at a person can diminish them.
Watch TV and movies, and notice the shots which stand out. There’s a reason why they stand out — it’s all about camera positioning and frame composition. Experiment all the time.
Basic Camera Moves
As with camera framing, there are standard descriptions for the basic camera moves. These are the main ones:
Pan: The framing moves left & right, with no vertical movement.
Tilt: The framing moves up & down, with no horizontal movement.
Zoom: In & out, appearing as if the camera is moving closer to or further away from the subject. (There is a difference between zooming and moving the camera in and out, though. There’ll be more about that in the intermediate tutorial.)
When a shot zooms in closer to the subject, it is said to be getting “tighter”. As the shot zooms out, it is getting “looser”.
Follow: Any sort of shot when you are holding the camera (or have it mounted on your shoulder), and you follow the action whilst walking. Hard to keep steady, but very effective when done well.
Note: Most camera moves are a combination of these basic moves. For example, when you’re zooming in, unless your subject is in the exact centre of frame, you’ll have to pan and/or tilt at the same time to end up where you want to be.
Crossing the Line (Reverse Cut)
Crossing the line is a very important concept in video and film production. It refers to an imaginary line which cuts through the middle of the scene, from side to side with respect to the camera. Crossing the line changes the viewer’s perspective in such as way that it causes disorientation and confusion. For this reason, crossing the line is something to be avoided.
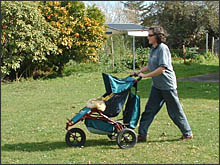
| In this example the camera is located to the subject’s left. The imaginary line is shown in red.
The resulting shot shows the subject walking from right to left, establishing the viewer’s position and orientation relative to her. |
 |
 |
| “Crossing the line” means shooting consecutive shots from opposite sides of the line. |
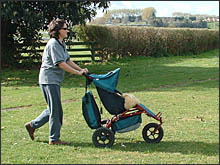
| In this example the camera has crossed the line. As you can see in the resulting shot, the view of the subject is reversed and she appears to be walking from left to right.
When cut immediately after the preceding shot, the effect is quite confusing. Because of the sudden reversal of viewpoint and action, this is known as a reverse cut. |
 |
 |
To prevent reverse cuts, set up the scene so you can shoot it all from one side. If you are using multiple cameras, position them on the same side.
In some cases crossing the line is unavoidable, or at least desirable enough to be worth the awkward transition. In this case you can minimize confusion by using a shot taken on the line itself to go between the shots, as illustrated below. This “buffer” shot guides the viewer to the new position so they know where they are. Although it’s still not perfect, it’s not such a severe jolt.

Sports & Multi-Camera Action
In live-action situations such as sports coverage, crossing the line is often necessary to obtain the best views. Sometimes this isn’t a problem, especially if it’s a view the audience is used to, but sometimes it can be very confusing (for example, a team suddenly seems to be playing in the wrong direction). This can be alleviated by either a graphic key saying something like “Reverse Angle”, or a word from the commentator such as “Let’s see that replay from a different angle”.

The 180° Rule
The rule of line-crossing is sometimes called the 180° rule. This refers to keeping the camera position within a field of 180°.